 Radiant Home Blog
How to make Bamboo Beaded Curtains (beginner-friendly guide)
 —
— Reading: 5 minutes
—
— Reading: 5 minutes
Disclosure: This post contains affiliate links — at no extra cost to you I may earn a small commission if you purchase through them. I recommend only products I genuinely think will help. The content on this website was created with the help of AI. Your support helps keep Radiant Home Blog running!
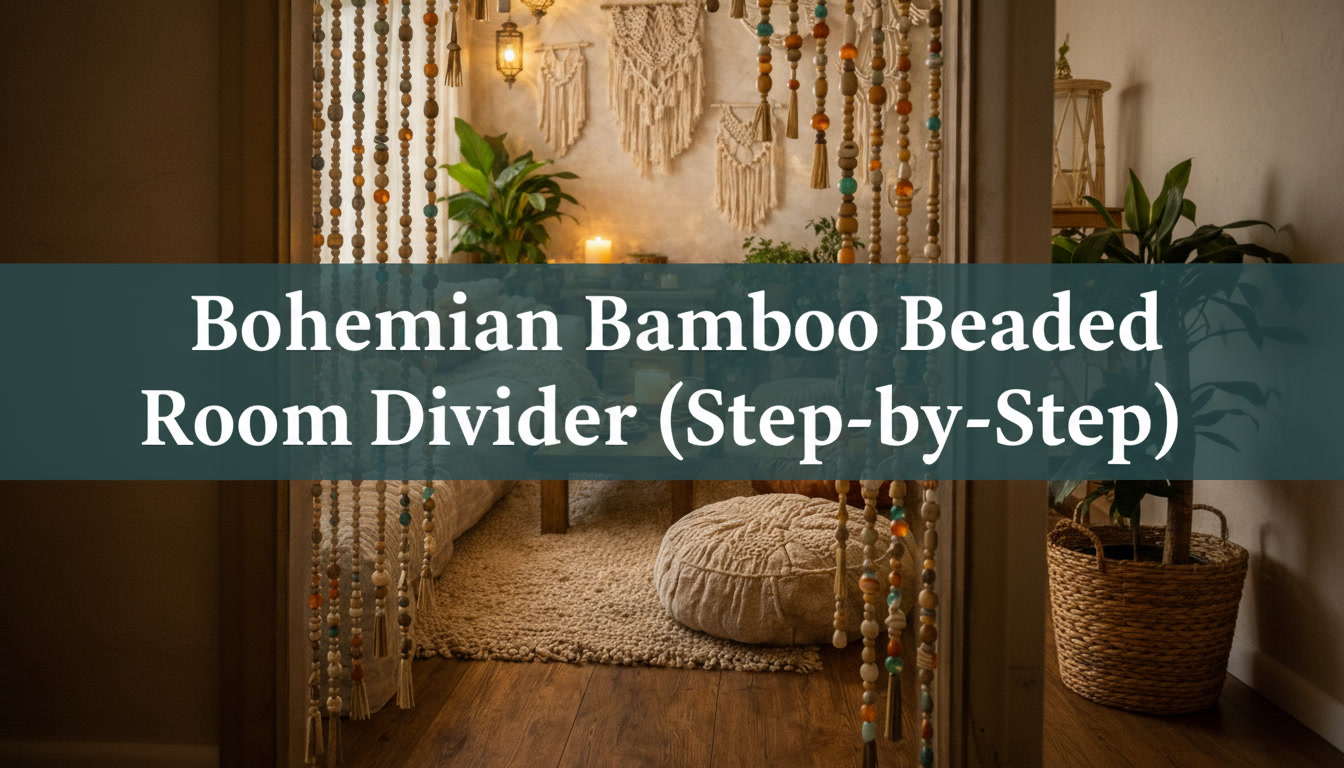
How to Make a Bohemian Beaded Room Divider (Step-by-Step)
If you’ve ever wanted to separate a space without closing it off—or add a little soul and softness to a room—this project is for you.
A beaded room divider creates just enough visual definition while still letting light, air, and energy move freely. It’s practical, yes—but it’s also expressive. Colorful beads, gentle movement, tassels that sway as you pass by… it all adds up to a space that feels lived-in, relaxed, and welcoming.
And the good news? You don’t need to be a “DIY person” to make one. If you can tie a knot and trust your instincts, you’re more than capable of pulling this off.
Let’s walk through it together.
What You’ll Need
Materials
- A wooden dowel, curtain rod, or sturdy natural branch
- Strong string, cotton cord, twine, or nylon thread
- Assorted beads (bamboo, wood, ceramic, glass, acrylic — mix it up)
- Tassels, or embroidery thread to make your own
- Hooks, brackets, or jump rings for hanging
- Measuring tape
- Scissors
Optional (but fun) Extras
- Small charms or bells
- Shells or driftwood accents
- Paint or stain for the rod
- Clear fishing line for a more “floating” look
Nothing here needs to be perfect or expensive. In fact, mixing materials often makes the end result feel more authentic.
Step 1: Measure Your Space
Start by measuring the width and height of the area you want to divide. This could be a doorway, a corner of a living room, or the edge of a seating area.
Now decide how much coverage you want:
- Closer strands feel more private
- Wider spacing keeps things light and open
There’s no wrong choice—just think about how you want the space to feel.
Step 2: Prep the Hanging Rod
If you’re using wood or a branch:
- Lightly sand any rough spots
- Paint or stain if you want to customize it
- Let it dry fully before hanging
Install your hooks or brackets securely. The divider will have some weight once the beads are on, so it’s worth taking a minute to make sure everything is solid.
Step 3: Cut and Plan Your Strings
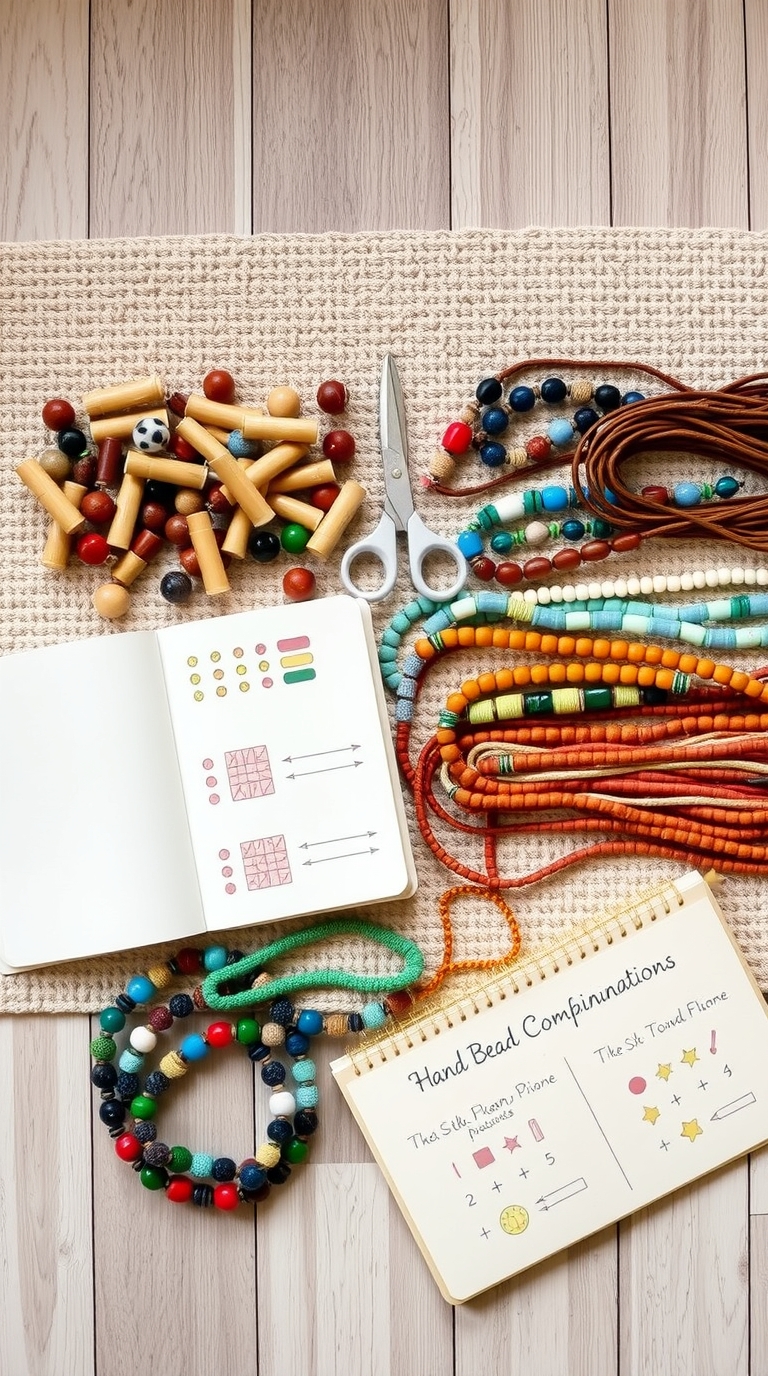
Cut multiple strings slightly longer than your final desired length. You can always trim later—give yourself that flexibility.
Lay the strings out and loosely plan your bead combinations. This isn’t about strict patterns; it’s about balance. Spread out colors, mix bead sizes, and let your eye guide you. If it looks good to you, it is good.
Step 4: String the Beads
Now for the meditative part.
Thread beads onto each string, one by one. Play with variety:
- Earth tones paired with brighter accents
- Larger beads mixed with smaller ones
- Repeating colors, then breaking the pattern
Use knots where needed to keep beads from sliding. Take your time here—this step is where the personality really shows up.
Step 5: Attach the Tassels
Attach one tassel to the end of each strand using a simple loop knot. This method keeps the attachment clean and unobtrusive while allowing the tassel to hang straight.
To attach:
- Pass the top loop of the tassel through the end of the string
- Pull the tassel body through its own loop
- Gently tighten until it sits flush
For added stability, tie a small overhand knot just above the tassel. This keeps it in place and prevents twisting over time.
Vary tassel lengths slightly if desired, then trim once all strands are complete. Keeping these details consistent helps the divider feel intentional and well balanced.
Additional: Adding Details
Varying the tassel lengths adds movement and softness, which really brings the divider to life.
If you want to go further:
- Add charms or bells between beads
- Mix tassels with loose fringe
- Let some strands end differently than others
These little variations are what make the piece feel handcrafted and warm.
Step 6: Attach the Strings to the Rod
Use a Lark’s Head knot to attach each string to the rod. This knot sits flat against the rod and creates a uniform look across all strands, keeping the overall design visually calm and intentional.
To tie it:
- Fold the string in half
- Place the loop over the rod
- Pull the ends through the loop and tighten
If you’re working with heavier beads, tie a small overhand knot just beneath the Lark’s Head knot. This adds extra security, prevents slipping over time, and helps keep spacing consistent.
Once all strings are attached, take a moment to align the knots along the rod before hanging. These small adjustments help the divider feel cohesive and well made.
Step 7: Trim, Adjust, and Refine
With the divider fully hanging:
- Trim the bottom to your preferred length
- Untangle and straighten strands
- Adjust spacing where needed
Trust your eye. Small tweaks make a big difference, and you’ll know when it feels right.
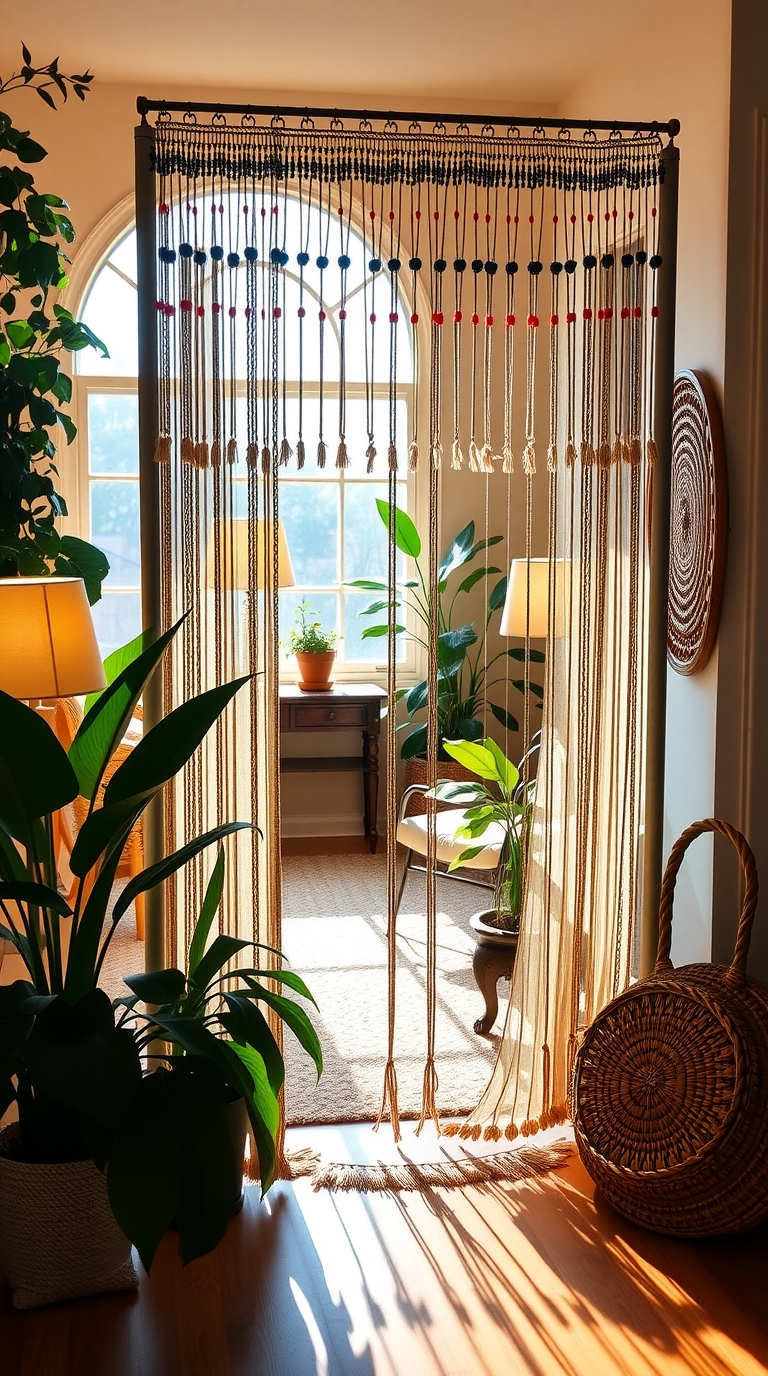
Styling Tips for a Cozy, Bohemian Feel
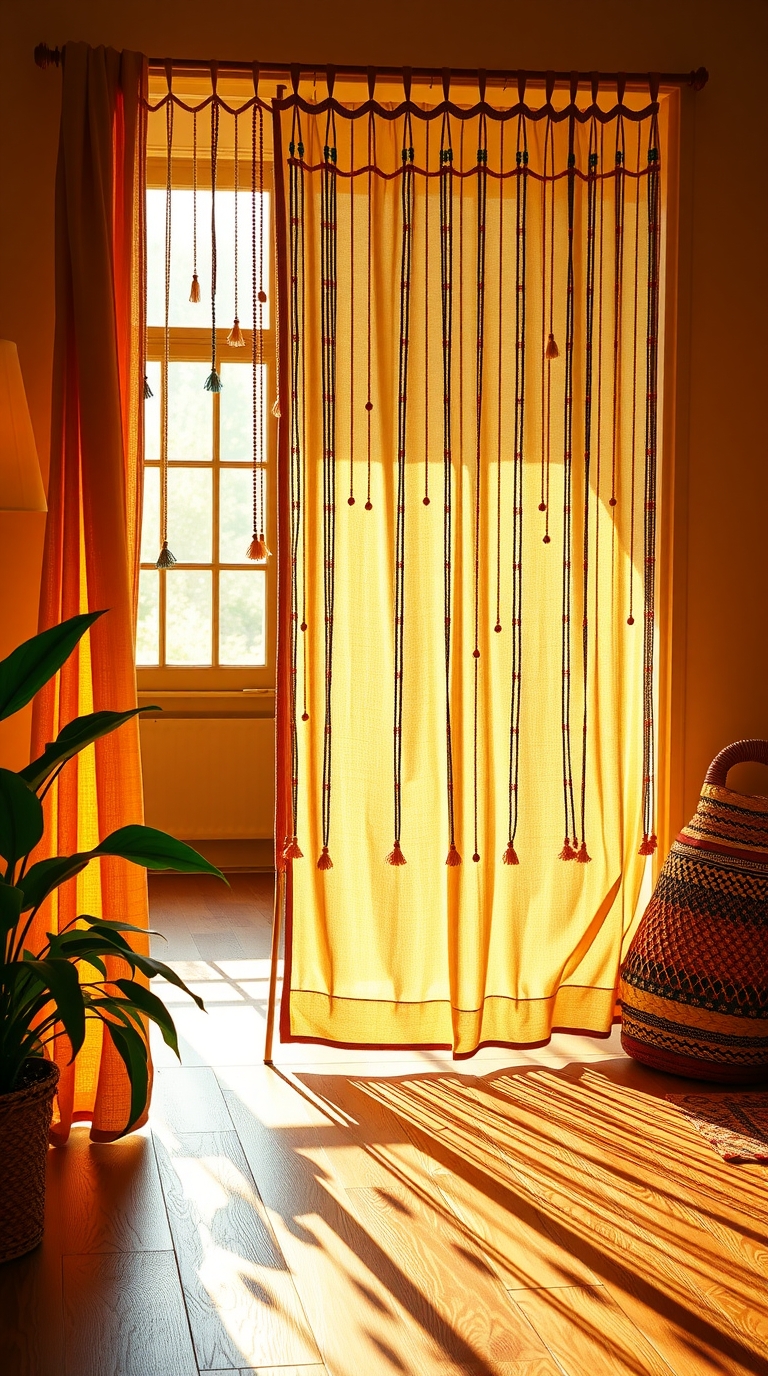
This kind of divider shines when it’s part of a layered, welcoming space:
- Pair it with plants and natural textures
- Use warm, soft lighting nearby
- Let it frame a seating area, reading nook, or calm corner
It’s especially beautiful in rooms meant for gathering, relaxing, or slowing down.
Final Thoughts
A beaded room divider isn’t just a functional solution—it’s an invitation. It invites light in. It invites movement. It invites personality and warmth into your space.
Most importantly, it reminds you that you’re allowed to shape your environment in ways that feel good to you. Take your time, enjoy the process, and don’t worry about perfection. The charm is in the making.
Discover Related Content!
Content Creator Radiant Home Blog
Hi I'm Stacy, — sharing with you simple inspiration, practical tips to make every day more creative, calm and beautifully intentional. Transform your home and life with luxe minimalism, nature-inspired home decor, crafts, DIY projects, and small self-care rituals.Stay Updated – Join Us Today!
Be the First to Discover Our Latest Content!Subscribe to Radiant Home Blog!
 10 Creative DIY Homemade Spa Kit Gift Basket Ideas
 5 Shades of Green — How to Style a Living Room with a Green Couch
Recent Posts
Best Yarn for a Sacred Crochet Meditation Pillow (Natural Fibers That Feel Grounding)
7 Reasons a Crochet Meditation Pillow Will Deepen Your Practice (And Make It Feel Sacred Again)
Dreamy Curtain Ideas to Create a Peaceful Meditation Space (Even in a Small Apartment)
11 Powerful Ideas for a Meditation Corner in Small Spaces (Even If You Don’t Have a Spare Room)
12 Earthy Boho Decor Ideas for a Guest-Ready Home
Luxurious and Romantic Bathtub Aesthetic Ideas: 10 Ways to Revitalize your home spa